What an OTS Shot Is
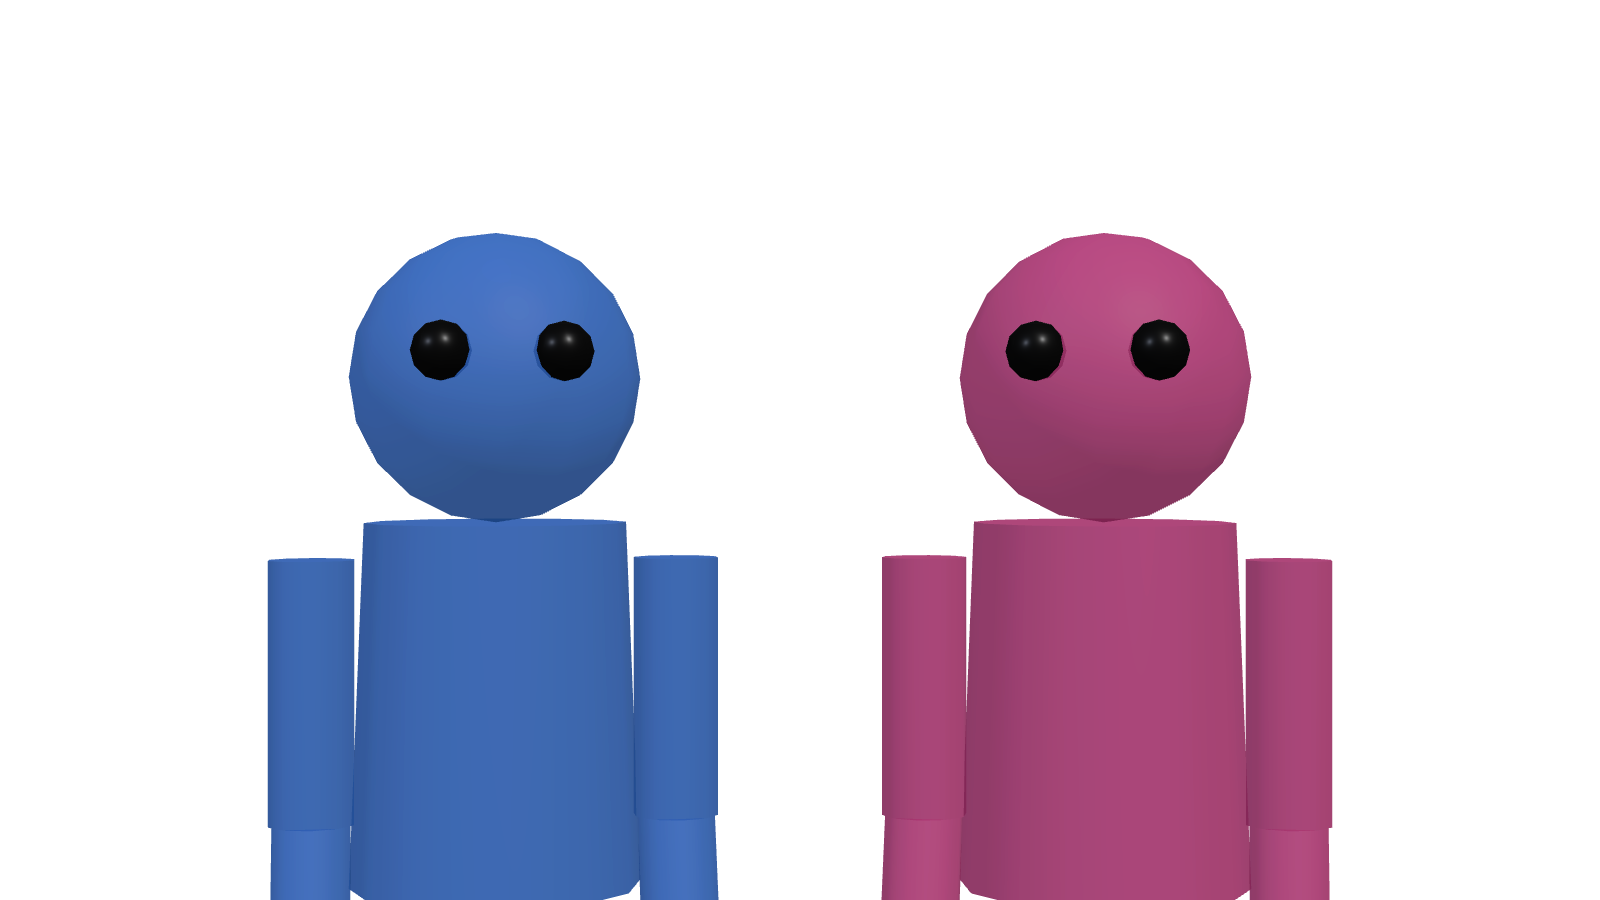
Over-the-shoulder — exactly what it says. You put A's shoulder (and part of the back of the head) in the near foreground, with conversation partner B beyond. The audience reads as standing next to A, listening in. That's where the immediacy comes from.
Used across drama, interview, debate, job interview, business negotiation — any scene of two people facing each other.
OTS Fundamentals
Three Camera Variables
- Angle: 30–45° offset from the imaginary line between the two subjects.
- Distance: 1.0–2.0 m from the near subject's shoulder; 2.5–4.0 m to the far subject.
- Height: Eye-level by default. Slightly low for a "looking up" register.
Shoulder Size
The single biggest variable on the feel of an OTS is how much shoulder is in frame.
- Large shoulder (1/3 to 1/2 of frame): Pressure and confrontation. For interrogations or confrontational scenes.
- Small shoulder (around 1/5 of frame): Lighter, observational. For interviews and casual conversation.
Lens Choice
Short telephoto is the rule. 50–85mm (full-frame) is the comfortable range.
- 50mm: Natural sense of distance between shoulder and subject. All-purpose.
- 85mm: Compression lifts the subject from the background. Dramatic.
- 35mm or wider: Distorts the shoulder, stretches the space. Not for OTS.
Hold the 180° Rule
OTS almost always comes paired with its reverse. When you cut from A's OTS to B's OTS, both cameras must stay on the same side of the imaginary line.
Cross the line and the cut suddenly has both subjects facing the same direction — the conversation reads as broken. See Two-Camera Interview Setup for the full explanation.
Focus Plane
OTS rule: near shoulder out of focus, far subject sharp.
- Aperture around F2.8–F4. Too soft on the shoulder and you can't tell what it is; too sharp and the shoulder becomes the subject.
- Focus on the near eye of the far subject — the camera-side eye, not both.
- If subjects move during talk, set Eye AF or have a focus puller ready.
OTS implies reverse shots. Block one camera at a time and you'll never finish. Place both A-side and B-side cameras in Shot Planner at the same time and preview both frames together — the 180° rule and the shoulder sizes all visible at once.
Common Mistakes
Mistake 1: Shoulder so big it overpowers the subject
"More immersion!" leads to oversized shoulders. The shoulder becomes the lead actor. Remember: OTS exists to show the far subject's face.
Mistake 2: Shoulder pushed all the way to the edge
The opposite — too timid, and the OTS becomes a plain medium shot. A "fringe" of shoulder isn't enough. At least 1/5 of frame should be shoulder.
Mistake 3: Mismatched sizes on the reverse
If shoulder size, head height in frame, or left/right balance don't match between A's OTS and B's OTS, the cut feels wrong. Aim for a mirror image.
Mistake 4: Things growing out of the shoulder
The classic blunder — a plant, mic stand or someone's head appearing to sprout from the shoulder line. Always check the silhouette in the near plane.
Variations
Dirty OTS vs Clean OTS
"Dirty" includes the shoulder. "Clean" almost removes it. The standard pattern: use dirty to show the relationship between the two, then cut to clean to isolate the subject's emotion.
OTS with three or more
For three-person meetings, "double OTS" — the third person seen past both foreground shoulders — works. Use the camera angle within the triangle to show which person is the focus.
Checklist
- Is the camera offset 30–45° from the imaginary line?
- Is the near shoulder occupying 1/5 to 1/2 of frame?
- Are the reverse cameras on the same side of the imaginary line?
- Are both OTS frames symmetrical (shoulder size, subject position)?
- Is the shoulder's silhouette clean of props or background objects?
- Is focus on the camera-side eye of the subject?
Finalise OTS design before you arrive on set.
Block out both subjects and both cameras in 3D in Shot Planner and preview both frames at once.
Try an OTS →